

What you’ll need
- A Compute instance created via the Hivenet dashboard
- Your SSH private key
- Windows Terminal or another SSH-capable terminal (like PowerShell)
- A configured
configfile (optional but helpful)
Step 1 – Open the SSH connection details
Open your instance in Compute and go to Connectivity options → SSH. Compute exposes a stable SSH endpoint for the instance on port 22. The console shows the current hostname and connection command. Use those values rather than building the hostname yourself.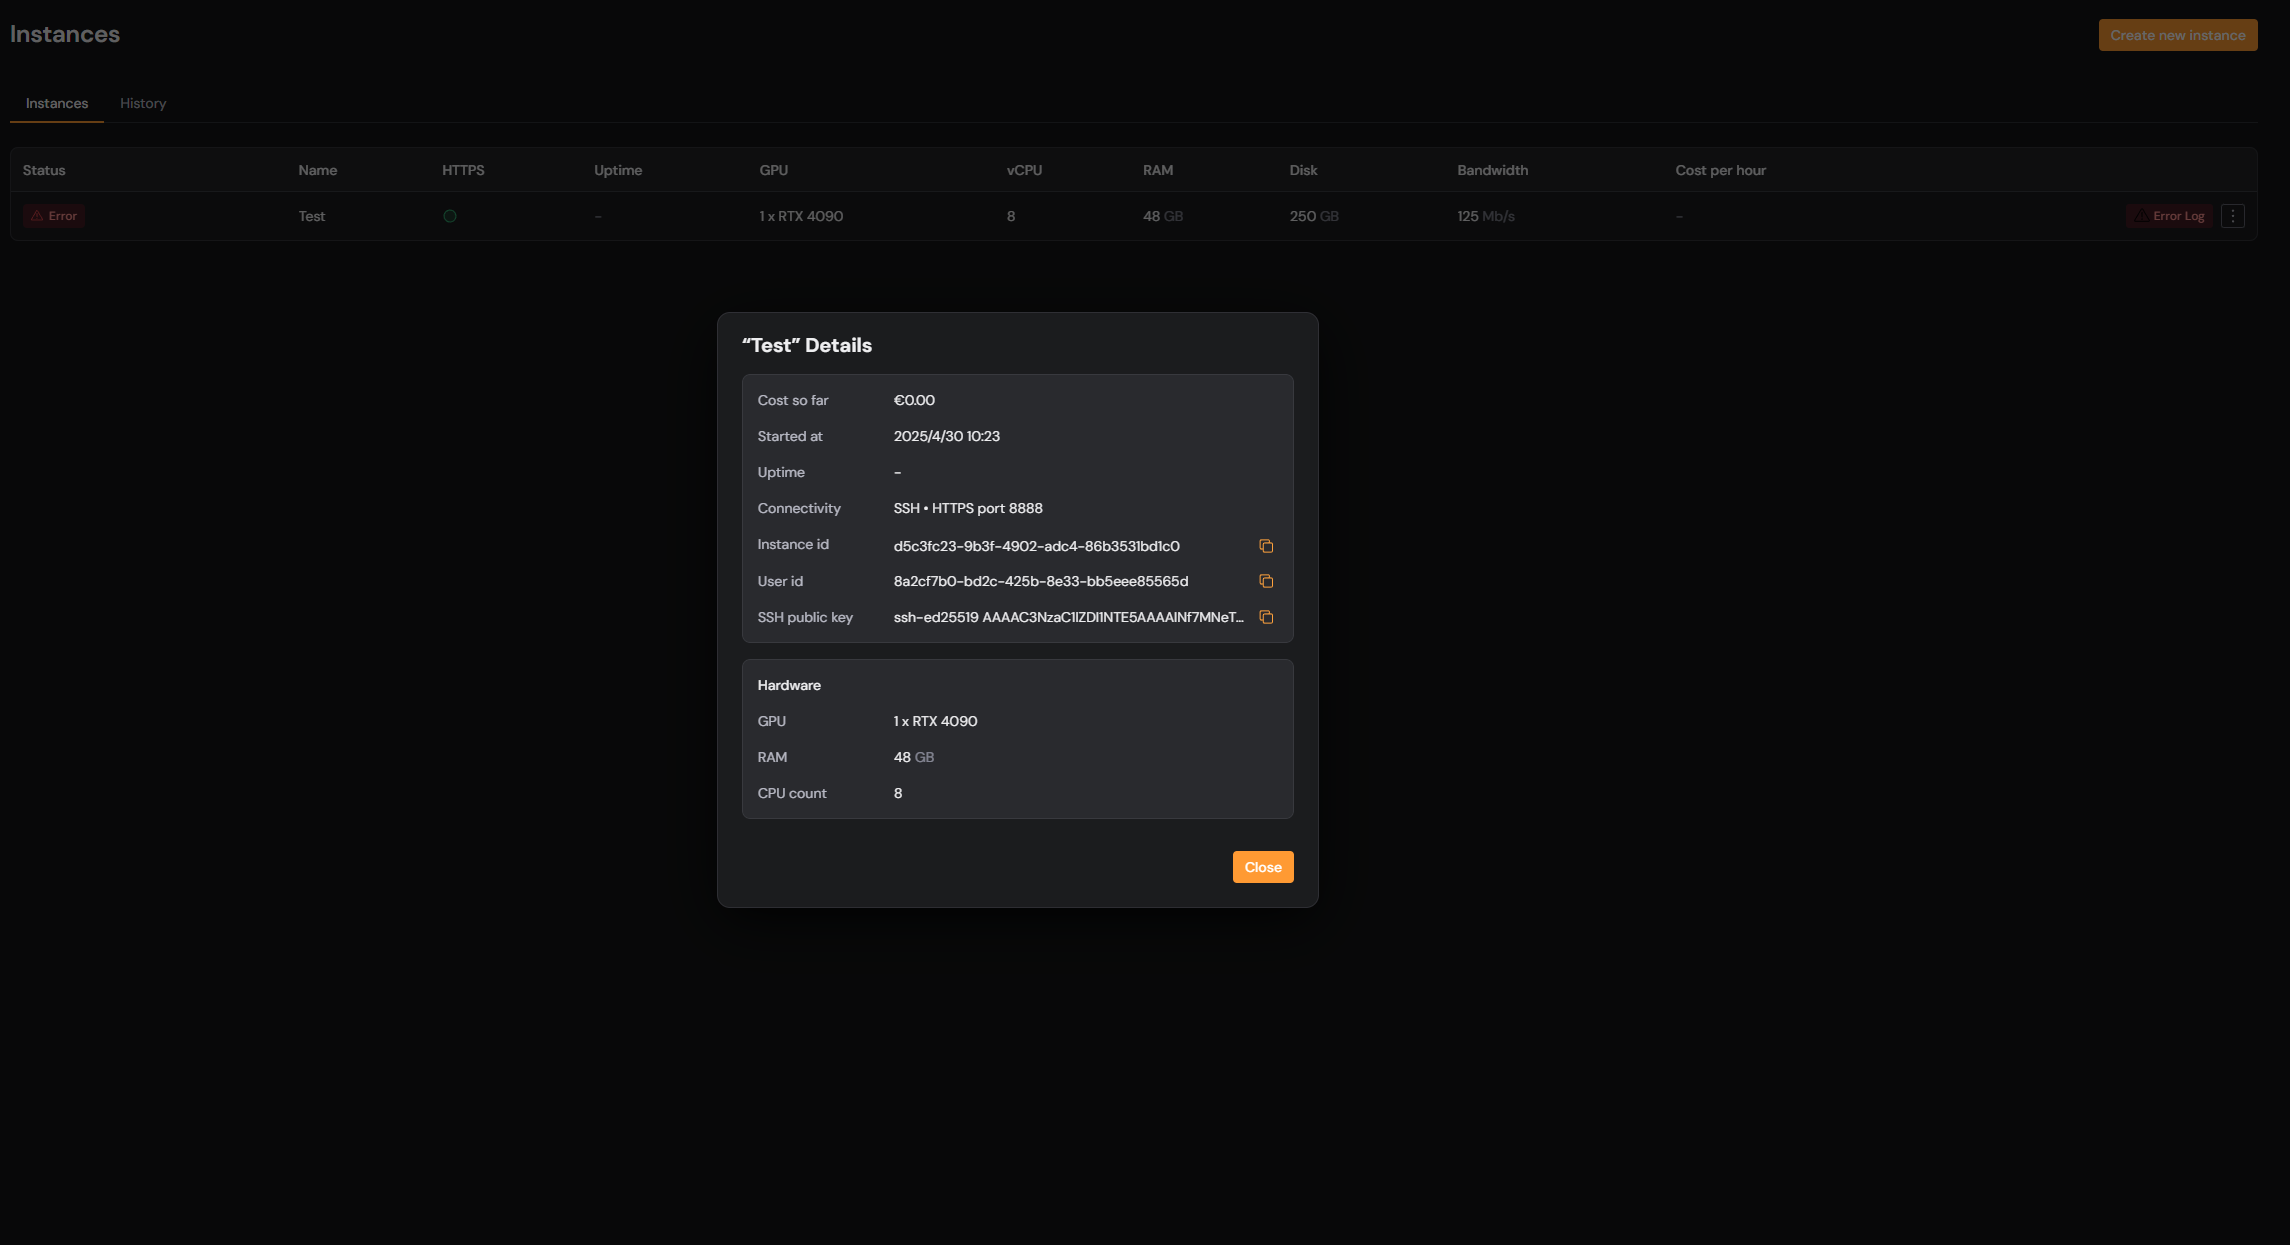
Step 2 – Connect
Fastest option (recommended)- In the dashboard go to Instance → Connectivity options → SSH.
- Click Copy to terminal to connect.
- Paste the command into your terminal and hit Enter.
- The command already includes your instance ID and user.
- It only works if you’ve added the “Add this to your SSH/config file” snippet shown right below the command.

~/.ssh/config
Step 3 – Use a ProxyCommand if needed
Some connections require a jump host (a “bastion”) for access. If you’re getting timeouts, try this:You may need to replace
id_ed25519 if your key has a different name.Step 4 – Confirm your connection
If everything works, you’ll land in a Linux shell on your instance. You can now:- Install packages
- Clone repos
- Run workloads
- Start your apps (like Fooocus, Jupyter, etc.)
Troubleshooting
- Terminal closes immediately — Run your SSH command from an open terminal window instead of double-clicking a file.
- Connection timed out — Add
-vto get detailed output and check for network issues. - Permission denied — Check that your SSH key matches what you uploaded in the Compute dashboard.
- Bad Gateway — You may be trying to access a web app before it’s started. Use
curl localhost:<port>to confirm it’s running.