What you’ll need
- A Hivenet account
- An SSH key (public) to connect to your instance
- Optional: a payment method to add credits later
Create your account
To get started:- Sign up for Compute.
- Log in to access your dashboard.

Compute uses a separate account from the one you may already have for Hivenet storage and other services. We know that’s not ideal, and we’re actively working on unifying accounts across the platform.
Launch an instance
Once you’re in the dashboard:- Go to the Instances page.
- Click Launch new instance.

- Under Location, choose a region.
- Under Type, select your instance type (GPU or vCPU).
- Choose a Size (Small, Medium, Large).
- Upload your SSH key.
- Click Deploy.
Root access is disabled on Compute containers. Use a Custom Template for system packages.
Connect to your instance via SSH
After launching, here’s how to connect:- On the Instances page, find your running instance.
- Click Connectivity options.
- Copy the provided SSH command.
- Paste it into your terminal to connect.
Stop or terminate an instance
To avoid using up credits, stop any instances you’re not actively using.- Stop: Pauses your instance (you can restart it later).
- Terminate: Permanently deletes your instance and all data on it.
Add credits to your balance (optional)
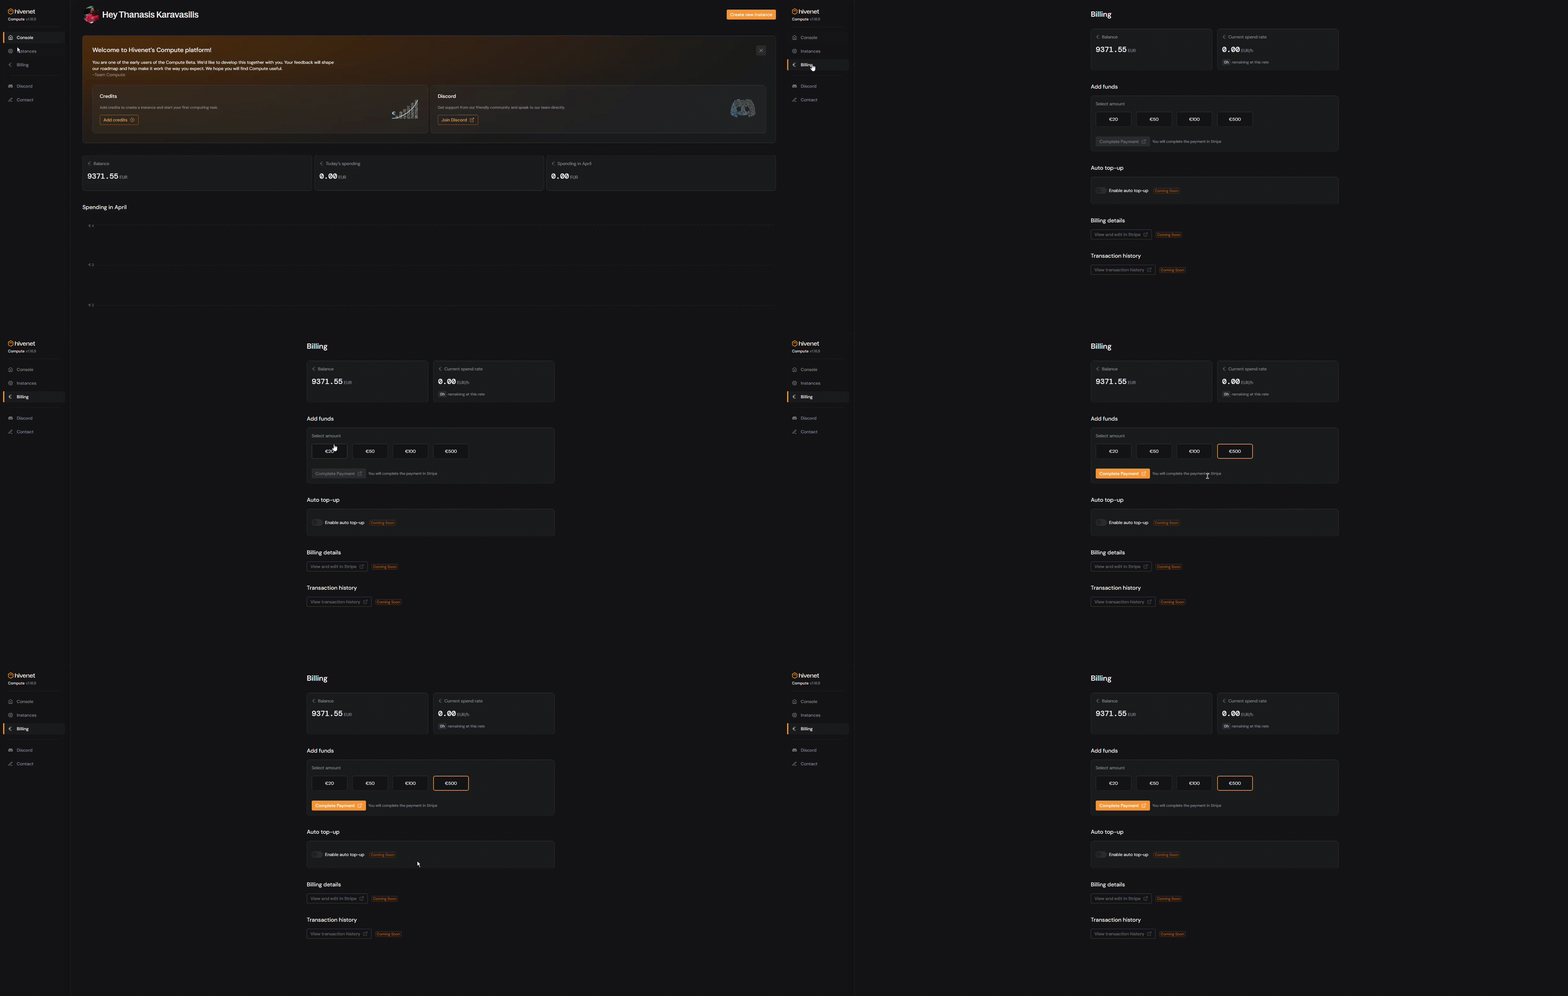
To add credits to your account, follow these steps:- Open the Billing page from the left-hand menu.
- Click Add credits.
- Choose an amount and complete the Stripe checkout flow.
