With the Start/Stop feature in Compute, you can control when your instances are active. If you need to take a break, save on costs, or just pause a project, you can stop an instance to temporarily pause it and stop compute charges.
When you start it again, the instance resumes from its previous state, as long as it hasn’t been automatically terminated.
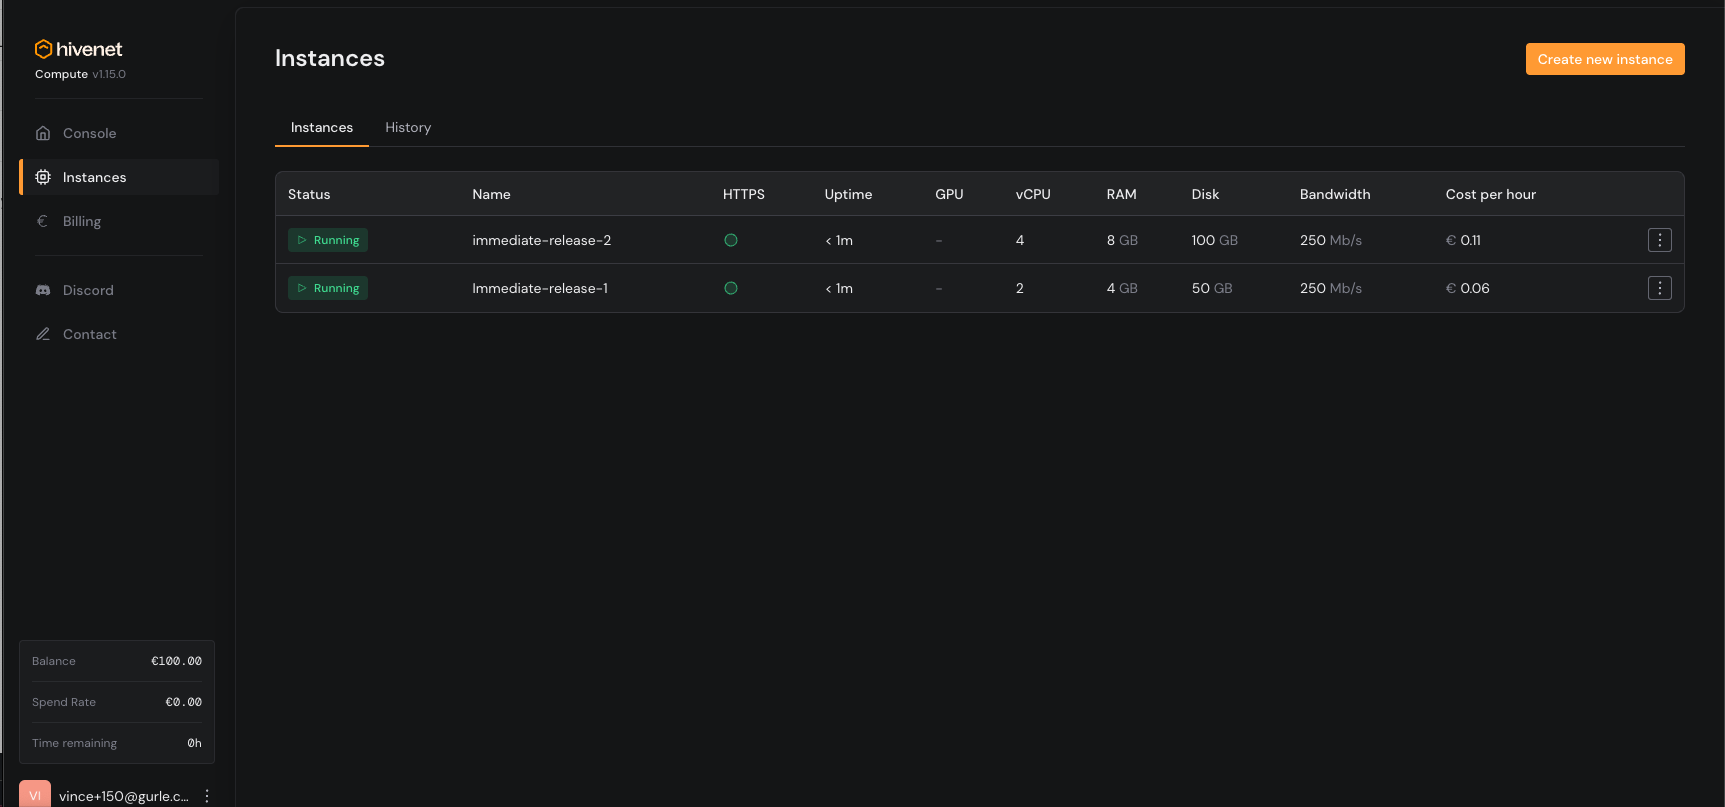
View your instances
- Go to your Compute dashboard.
- Select the Instances tab.
- Here you’ll see all of your instances—running or stopped—with details like uptime, resource usage, and hourly cost.
To create a new instance, click Create on the sidebar or in the top-right corner.
Stop an instance
To stop billing and pause usage:
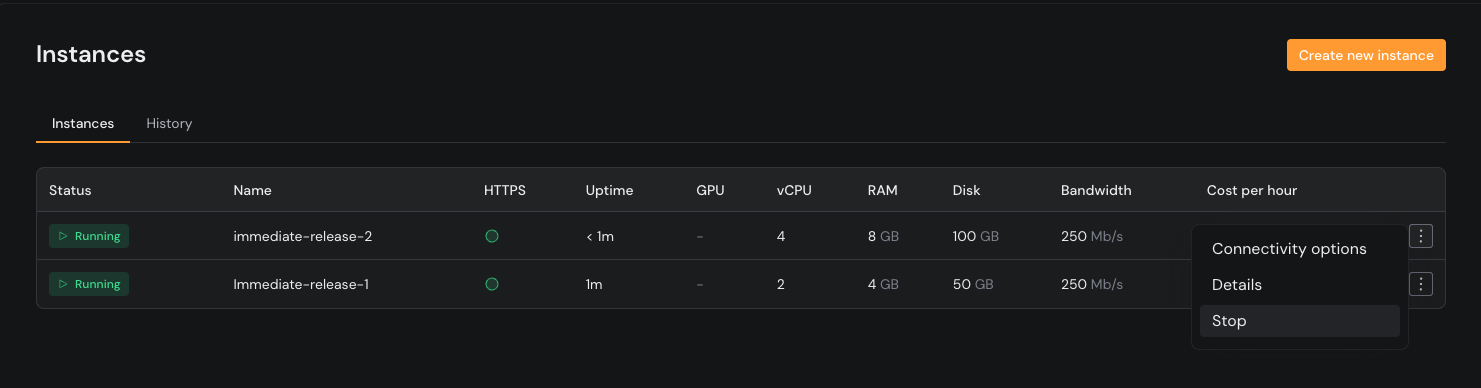
- Click the
⋮ next to the instance you want to stop.
- Select Stop from the dropdown.
The instance status will update to Stopped, and you will no longer be billed. Your configuration and data will be saved.
Stopping an instance releases the underlying capacity. When you start again, availability depends on current demand, and you may not get the same host or GPU.
Important: stopped instances are temporaryWhen an instance is stopped, it isn’t kept indefinitely.
If an instance remains stopped for more than 5 days, it is automatically terminated.Once terminated, the instance and its data can’t be recovered. To keep an instance, make sure to start it again within that time window.If an instance was stopped for more than 5 days, it may have already been terminated and won’t be available to start.
Start a stopped instance
To resume activity:
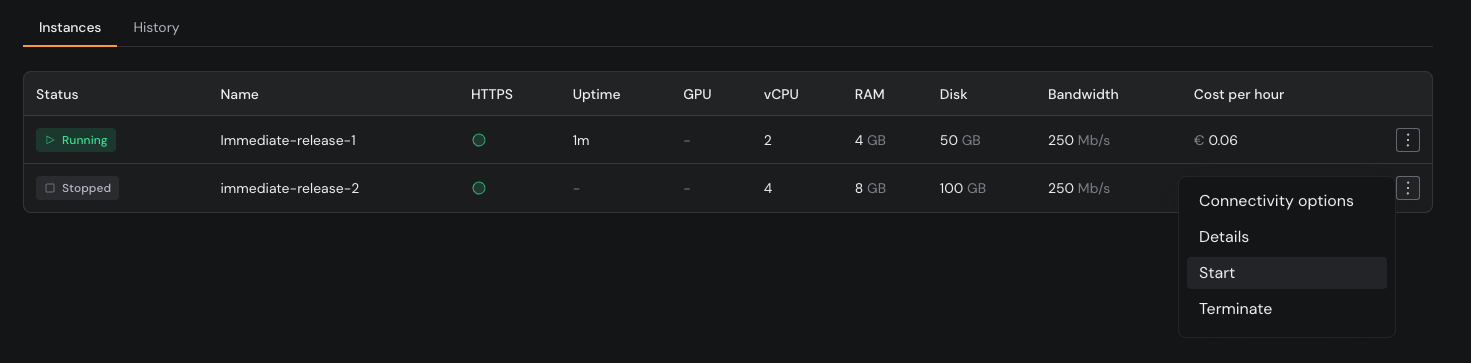
- Find your stopped instance in the Instances tab.
- Click the
⋮ next to it.
- Select Start.
 Review the configuration details, then click Start instance to confirm.
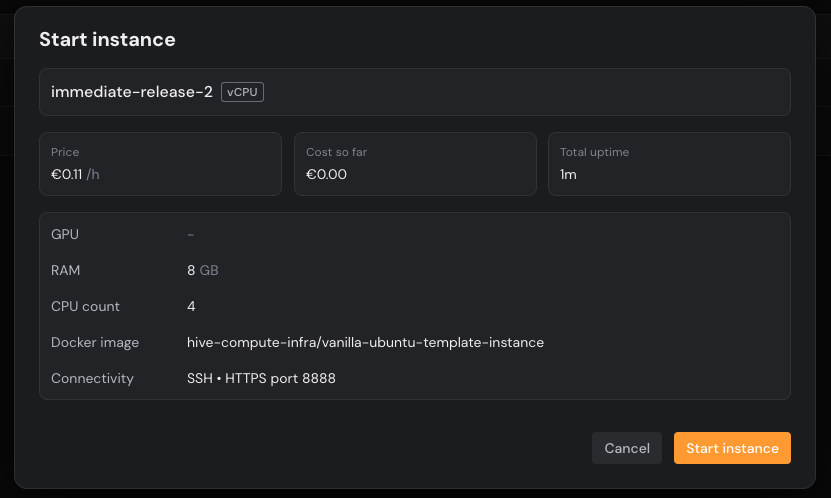 The instance will return to a Running state, and billing will resume.
If resources aren’t available
If the network can’t allocate the same configuration immediately, you’ll see a message asking you to try again later. This usually means there’s no matching capacity in that region right now. Your data and settings remain safe while you wait.